
Showing posts with label mini-books. Show all posts
Showing posts with label mini-books. Show all posts
Friday, 10 December 2021
Language Show 2021


Saturday, 27 February 2021
My Resources Shop

I had the idea for Pocket Cards a long time ago, but didn't know how I would go about selling them. Then I happened upon Sellfy.com as a way of doing that. My first products were the French and Spanish Challenge Cards in 2014, followed quickly by the Pocket Cards. I pay a monthly fee to Sellfy, but took on the Pro contract when they were offering a permanent 50% off, so it doesn't cost too much, and I only have to pay Sellfy 2% commission on sales. The only downside of choosing Sellfy is that the shop isn't as visible as, say, TES or Teachers Pay Teachers, so forgive me if I do some publicising of my products on this here blog and on my social media accounts.
You'll know that literally thousands of my resources are available absolutely free on Light Bulb Languages. I have chosen to charge for the resources in my Sellfy shop because they took considerably longer to make.
Here's a list of everything that is available in my shop. Enjoy browsing!
Tuesday, 9 February 2021
No-screen activities

Today is another normal lockdown day in our house. "Normal" consists of my daughters, my husband and I working at home, all on screens for most of the day. I try to stay away from screens at the weekend (not always very successfully) for a break.
Understandably, there have been a lot of requests recently for no-screen activities for students. Here's what I can offer for languages:
- Lumen's Language Challenges: art and craft challenges with a languages focus. These are the ones that I have done, to give you some ideas.
- Make a minibook! There are lots of different kinds, and you can read all about them on this blog as well as downloading a free publication containing all the information.
- Create a calligram: You can read all my blogposts about them here, or download this free publication which tells you all about them.
- Students could also complete a number of different no-screen activities and put them towards Lumen's French Award, Lumen's Spanish Award or Lumen's German Award.
Monday, 6 July 2020
Progression in primary Spanish
Spanish minibooks by Clare Seccombe
Last week I made a minibook for each of the units of my new primary Spanish scheme of work. They are intended for reading material, which isn't always easy to find, and also as WAGOLLs. If you have been in a primary school recently, you'll probably have seen a "WAGOLL Wall". WAGOLL is What A Good One Looks Like. In other words, a good example of what children are aiming for with a certain piece of work or unit of work. When put together, the minibooks also show the progression through the scheme in terms of complexity and also in length of response. You can see the minibooks in sequence in the presentation above.
Saturday, 28 December 2019
Everything you need to know about Tarsia, calligrams and minibooks

Recently I have added some more free resources to my online shop. They are a series of pdf "Everything you need to know about..." guides.
You can choose from:
- Everything you need to know about Tarsia in the language classroom
- Everything you need to know about calligrams in the language classroom or
- Everything you need to know about minibooks in the language classroom
Each resource is a compilation of posts from this blog and other documents that I have made to support these topics. I thought it would help you to have everything in one place instead of having to search through various sites.
Monday, 24 April 2017
Making a leaflet


At the UKLingua conference this weekend, amongst the other goodies in my goodybags (yes, plural!) was this leaflet about Salamanca. Now, at the moment I am teaching the unit 'Then and Now' to Year 6 Spanish for the 5th time. We finish the unit with a piece of independent work which depicts and describes a town in the past and the same town in the present. I haven't yet found a way that I really like of presenting this work. So I am going to try a version of this leaflet this year and see how it turns out.
We're going to make it with one sheet on A4. I'll probably use card as paper always gets a bit fragile with all the felt-tipping. If you want to use A3 paper, double the initial measurement and all subsequent steps will be the same. You will need a very long ruler though!
 |
| 1. With your A4 paper landscape, measure 8cm down from the top right corner. |
 |
| 2. Draw a line with a long ruler to join your 8cm mark and the top left corner. |
 |
| 3. Cut off the small triangle. |
 |
| 4. Fold the paper in half along the long, bottom edge. |
 |
| 5. Fold the shorter edge back in to the centre. |
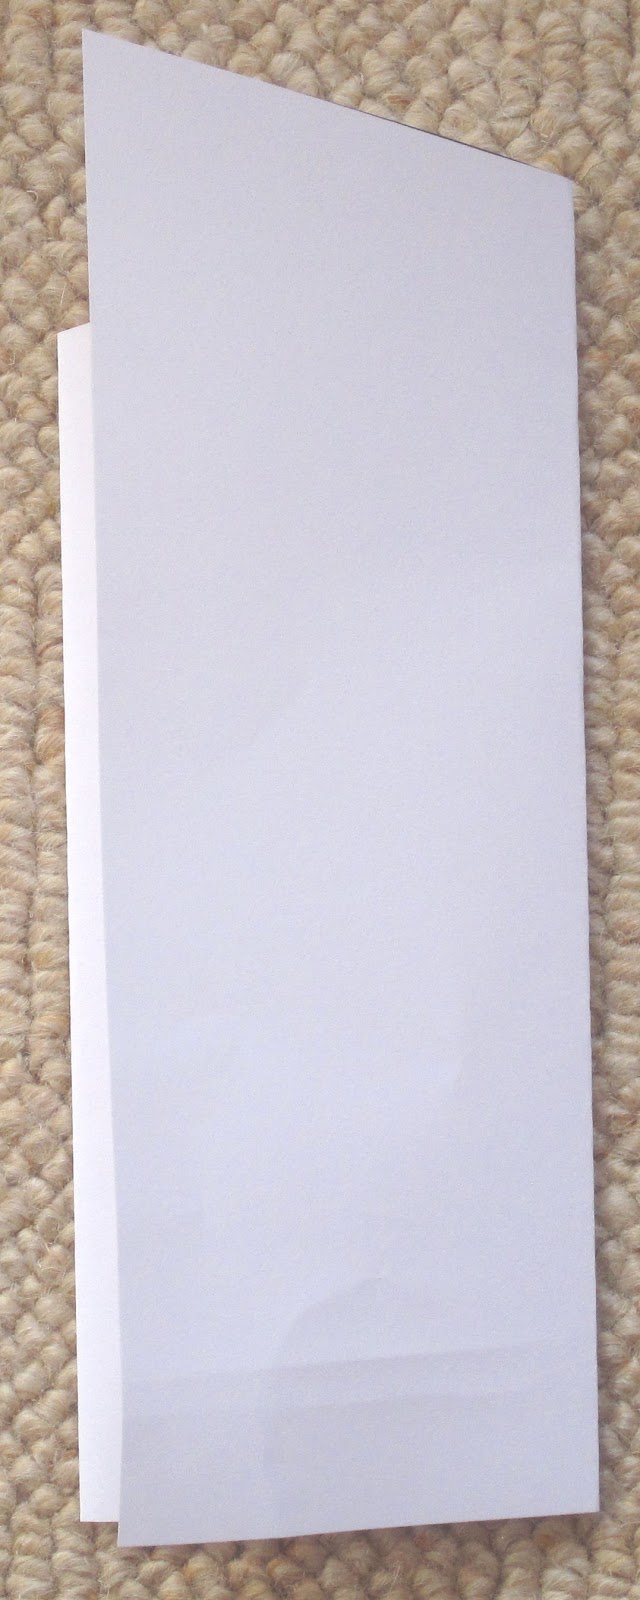 |
| 6. Turn it over and fold the long edge back in to the centre. |


7. Turn it back over and you'll see your finished leaflet.
Thursday, 21 July 2016
The Back-to-back-to-back Book

This minibook has popped up on Pinterest in a few different guises. Basically, it's a number of identical, symmetrical shapes which are folded in half and then stuck back to back. They fulfill the minibook criterion of fitting a lot of writing into a small space.
I made the one you can see in the picture to try it out. Here's how I did it:
 |
I made my symmetrical shapes using the AutoShapes function in MS Publisher.
You could also use PowerPoint. I printed out 3 copies of this sheet. 
I coloured in each shape.

and then added some writing.

Then I cut out the shapes and folded them in half.

Then I stuck the shapes back to back.
  
My 13 year old, bored on the first day of her 7 week summer holiday, made this one.
If you are considering making one of these with a class, my tips are:
These could be displayed on a flat surface or hung from the ceiling to really save on display space!
|
Thursday, 26 November 2015
Christmas Balls

In the summer, @dominic_mcg described to me some poetry balls that he had seen. I found a picture of them and filed it away on Pinterest for a later date. Then earlier this week I was thinking about things to do with Year 6 over the next couple of weeks, bearing in mind that they have already done most of my Christmas stuff. I remembered the poetry balls, and while my daughters were in the swimming pool this evening I had a go at making one.
Here are my instructions:
1. Halve a piece of A4 card. You'll end up with a piece of card 15cm x 21cm.
2. Carefully measure and mark out 1cm strips, each 15cm long. I started out with 21 strips, but found that was too many for one ball. My ball on the left has 10 strips and the right one has 11 strips. That's about the right number I think.
3. Decorate each strip. I wrote and illustrated Spanish Christmas words from my Spanish Christmas mat. This will take the children some time!
4. Using a single hole punch or the Blue Peter "sharp pencil into Plasticine" method, punch a hole in each end of each strip. This needs to be done with care so that the holes are not on the edges of the strips.
5. Cut the strips out and stack them in a pile.
6. Put a butterfly pin through the holes at each end. (Check beforehand the the head of the butterfly pin is not smaller that the hole!)

7. Carefully fan out the separate strips to make the ball shape.

It would be easy to fix a loop to the head of the butterfly pin with which to hang the ball.
UPDATE 27.11.15
Here's a template (2 to a sheet) to make it easier to make for those who might find the measuring tricky.
Monday, 6 July 2015
In defence of minibooks

I have been talking to a lot of teachers about minibooks recently. All those who see them are inspired and can think of lots of ways that they can use them in their own classroom to promote reading, writing, dictionary skills and even speaking.
Some teachers have asked me if I have any advice for how they can justify doing minibooks to any line managers, SLT, people observing their lessons etc.. Some say that they have been criticised for having the making of the minibooks cut into the learning time, others that children would be better off spending the time doing "proper work".
So why are minibooks A Good Thing?
- They enable children to be creative, artistically and linguistically.
- They are small and non-threatening, unlike a piece of file paper or the blank page of an exercise book.
- They motivate children to read and write.
- They make brilliant displays.
- Children can easily take them home to share with the wider school community.
- They are easy to post to a partner school in the UK or overseas.
- They contribute to the enjoyment of language learning.
- Minibooks often promote intercultural understanding (such as the Aztec Codex).
- They can be used to provide tailor-made reading material for classes.
- They make a nice change for Year 6!
- They enable part of the KS2 Art and Design curriculum to be met.
- They oblige children to listen to and follow instructions.
- They promote a culture of co-operation and helping in the classroom.
- Making minibooks promotes manual dexterity and fine motor skills.
- Children feel proud of something they have made, written and illustrated themselves.
- Once children have learned how to make a certain kind of minibook they often go on to make them in their own time and write about things they are learning in different areas of the curriculum.
- It's nice for children to have a break from tech sometimes.
Please leave a comment if you can think of any other reasons!
Monday, 20 April 2015
Story Towers


My Year 6 Spaniards are coming to the end of our "Then and Now" unit, which finishes with an extended piece of writing describing a place now and in the past. I asked them before the Easter holidays if they had any ideas for how we could present this writing. One of the girls suggested a cube, another two doors which open to see the two pictures. They also suggested a leaflet or an advert. All good ideas.
During the holidays I saw this on Pinterest and thought it might work, especially as it is a variation on the theme of a cube. This afternoon I purchased some blank postcards from (Poundland £1 for 50) and made the trial run that you can see above.
To slot the cards together I measured 2cm in from the corner and cut a 2cm slot. I found it was more stable if both cards have a slot.
I'm sure there are possibilities for decorating the inside as well, which would disguise the "Postcard".
Tuesday, 17 March 2015
Sketchnoting 2 - Experimenting

I have also bought some new kit:

I have a Moleskine cahier (mauve one on the left) which has tall, narrower pages, an A5 blank notebook from Paperchase (white one in the middle) and some cheap exercise books for writing and drawing ideas and "things that I like".

I also have some Maped Graph'Peps (on the left) for writing and drawing in different colours and some Tombow brush pens in grey shades (on the right) for adding shade and shadows. For the main writing I have been using Pilot fineliners. I also have a pack of Crayola Mini Supertips in my pack for colouring in larger areas.
These are the sketchnotes that I am pleased with:


I am not so pleased with these two. I'm not entirely sure why, but they were better and more useful in my head:


I have been persevering with SketchBook+ on my tablet, and have got the hang of zooming in and out. However I still can't make on my tablet anything like I can draw by hand, and it takes a lot longer.
I'm looking forward to the Language World conference at the end of this week, to be able to do some "live" sketchnoting.
Tuesday, 10 February 2015
Be my Valentine

For the last few days people have been asking for Valentine's resources. Then yesterday, completely by chance, I came across this Valentine's origami box on Pinterest. I have simplified the idea to make a Valentine's card-cum-minibook, which would also be ideal for writing about likes and dislikes at non-Valentine's times of year.
To make it, first of all download the template from here.

1. Cut out the shape, around the solid lines.

2. Fold along the long, "internal" dotted lines.

3. Fold out the two halves of the heart, along the dotted lines.
4. Decorate the outside.

5. Write inside!
UPDATE 15.02.15: Due to popular demand I have created some more shapes for this design of minibook. You can now download:
Easter Egg minibook
Christmas tree minibook
Smiley face minibook
Star minibook
UPDATE 31.03.15 A bell-shaped minibook for Les Cloches Volantes for Pâques.
Bell minibook
Friday, 30 January 2015
Un triangle, un carré et un rond

It all started when I found the book un triangle by Néjib in Montréal last summer. I mentioned the idea that I had for it in a previous blogpost.
We began by learning the names in French of ten classroom objects, and also did some activities to highlight some of the phonemes in those words. (You can find the resources here.) Then we found out what gender is all about in French, and how we can spot it when we meet a new word (resources). Next I showed them our new French dictionaries, and we did a series of short worksheets to help us to get used to using the dictionaries (resources).
 Next, we read un triangle for the first time. We talked about what the word on each page meant, and looked for the cut-out triangle in each picture. We also worked out if each word was masculine or feminine, and the children told me how they knew the words' genders. We also looked at the colours that Néjib uses - only blue, red, yellow and white.
I showed the children pictures of the other two books that Néjib has written in the same series. They are called un carré and un rond. We talked about what we might expect to see inside them.
 I issued the children with the challenge of making their own version of un carré. Because we were going to use folded minibooks, they would have to think of seven things which are square or which have squares as part of them. They would have to list the words in their exercise books and then use the dictionaries to find out how to say the words in French. Very importantly, they would also have to make a note of whether the word was masculine or feminine.
What came next was lots of hard thinking about square things! One of the (solid gold) Year 4 TAs said she thought it was a good activity as it was really making them think hard as well as be creative. If somebody was really stuck, I showed them how they could open up the dictionary at a random page and look at all the words there to see if any would suit. We found some unexpected words this way.
Once the children had their list of seven words, I checked them, and they made their minibooks. On the front cover they wrote the title un carré. Then on each of the seven pages they drew a picture of their "square word" and wrote the French word, preceded by un or une as appropriate. This is why they needed to know the gender of the word. They enjoyed colouring their pictures using only blue, red, yellow and white. The camion at the top of this post is one of my examples, and here are some sample pages from Year 4:


Those who have finished asked if they could start a book for un rond. And they are determined to do their own un triangle after that. I have now purchased un carré and un rond as well, and I'll show them to the children when they have finished their own books. I think a lot of the children have had better ideas than Néjib, so it'll be interesting to see what they think!
Subscribe to:
Posts (Atom)